
【Pythonista+scene】文字を画面に表示する方法

こんにちは、みやびのです。
今回は、Pythonista+sceneで文字を画面に追加する方法を紹介します。
具体的には、以下の通り。
・Pythonista+sceneで画面に文字を追加する方法
・【Pythonista+scene】文字追加の実装方法と実行例
Pythonista+sceneで画面に文字を追加する方法
Pythonista+sceneの文字追加について以下の内容を説明します。
・文字の追加方法の基本
・ボタンの上に文字を表示する方法
文字の追加方法の基本
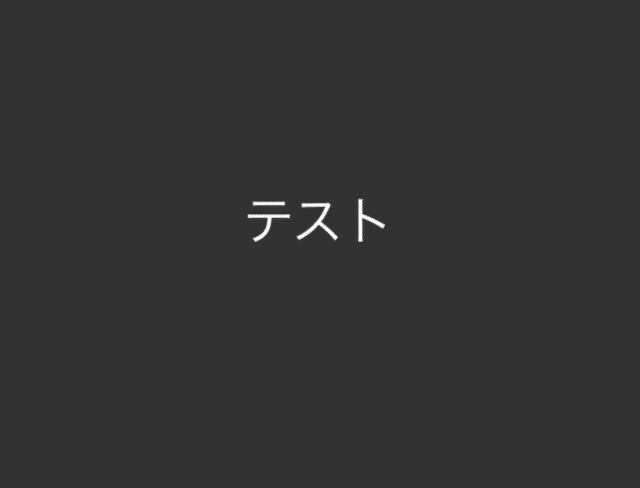
文字を追加する場合は関数LabelNode()を使用します。
font = ('Futura', 30)
LabelNode(text="テスト", font=font,
parent=self, position = (self.size.w/2, self.size.h/2))
主なパラメータは以下の通り。
font:フォントの種類とサイズを指定
text:表示する文字列を指定
parent:表示するsceneを指定
position:文字の表示位置を座標で指定
z_position:前後方向の表示優先度(数が大きいほど前に表示)
color:文字の色
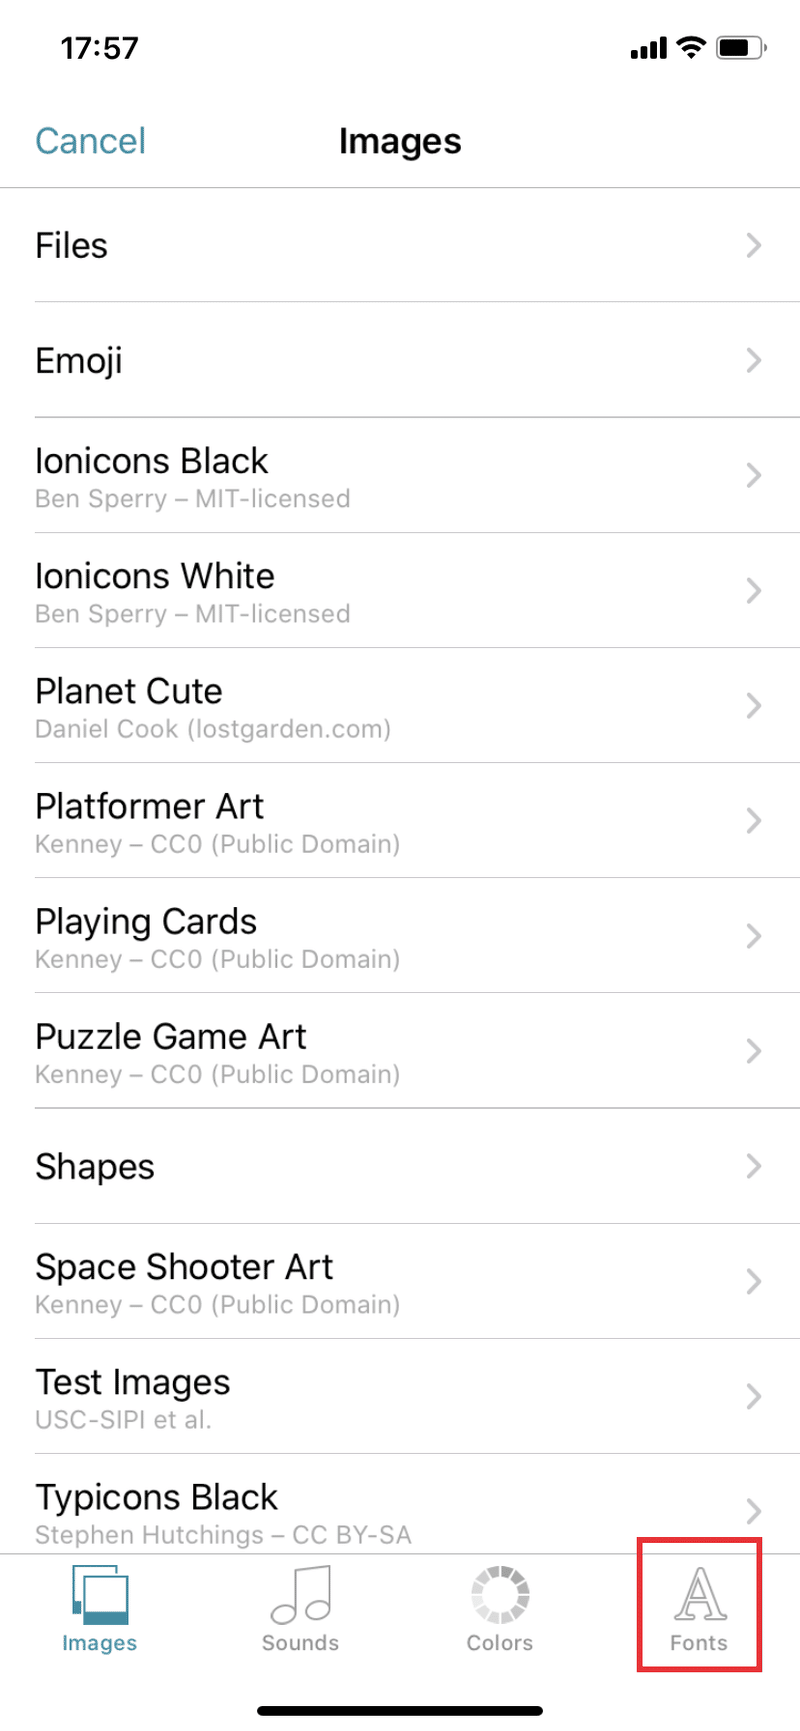
fontの種類は「+」ボタンを押した先のfont一覧から選ぶことができます。
文字のパラメータ(位置やテキストの内容)はupdate()やtouch_began()などで書き換えることが可能です。
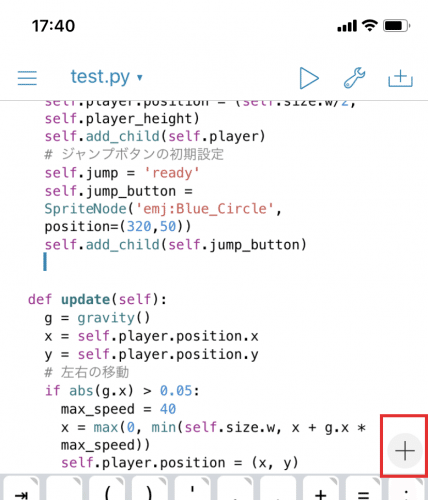
fontボタンをクリックするとfont一覧が表示されます。いずれかのfontをタッチすればコード中に追加できます。
ボタンなどの上に文字を表示する方法
文字はボタンの上や画像の上にも重ねて表示することができます。
ボタンのサイズに合わせて文字の高さや幅は微調整が必要です。
# ボタンの追加
button =SpriteNode('pzl:Button1',position=(self.size.w/2, self.size.h/2))
self.add_child(button)
# ボタンの文字の追加
font = ('Futura', 30)
LabelNode(text="テスト", font=font,
parent=self, position = (self.size.w/2, self.size.h/2 + 5), z_position=1, color='black')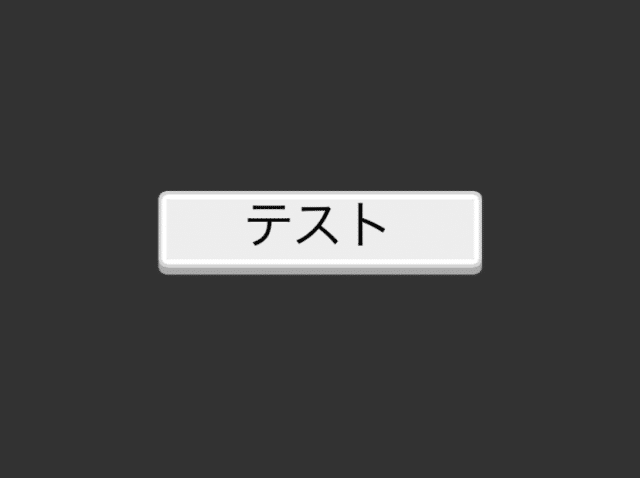
【Pythonista+scene】文字追加の実装方法と実行例
「時間経過でテキストが変更する処理」と「タッチでテキストの内容が切り替わる処理」の2つについて紹介します。
時間経過でテキストが変更する処理
以下は1秒ごとにカウントアップする処理です。
60になると0に戻ります。
◆変更概要
1.setup()でテキストを追加
2.update()で経過時間を監視してテキストを更新
from scene import *
from time import time

class MyScene (Scene):
	def setup(self):
		# 開始時間
		self.start_time = 0
		# テキストの追加
		font = ('Futura', 30)
		text = 'Time:0'
		self.time = LabelNode(text=text, font=font,
		parent=self, position = (self.size.w/2, self.size.h - 70), z_position=1)
	def update(self):
		# 時間表示の更新処理
		elapsed = time() - self.start_time
		seconds = elapsed % 60.0
		self.time.text = 'Time:' + str(int(seconds))
if __name__ == '__main__':
	run(MyScene(), show_fps=False)
タッチでテキストの内容が切り替わる処理
ボタンをタッチすると「ボタン1」と「ボタン2」が交互に切り替わります。
◆変更概要
1.setup()でテキストとボタンを追加
2.touch_began()メソッドでボタンの範囲がタッチされたかチェック
3.ボタンの範囲がタッチされた場合はボタンの表示を切り替え
from scene import *

class MyScene (Scene):
	def setup(self):
		# ボタンの追加
		self.button =SpriteNode('pzl:Button1',position=(self.size.w/2, self.size.h/2))
		self.add_child(self.button)
		# ボタンの文字の追加
		font = ('Futura', 30)
		self.button_label = LabelNode(text="ボタン1", font=font,
		parent=self, position = (self.size.w/2, self.size.h/2 + 5), z_position=1, color='black')
	def touch_began(self, touch):
		# タップした位置の取得
		touch_loc = self.point_from_scene(touch.location)
		if touch_loc in self.button.frame:
			if self.button_label.text == 'ボタン1':
				self.button_label.text = 'ボタン2'
			else:
				self.button_label.text = 'ボタン1'
if __name__ == '__main__':
	run(MyScene(), show_fps=False)
以上、Pythonistaで画面に文字を追加する方法でした。
プログラミング超初心者の勉強方法について記事にまとめました。これからプログラミングを始めようと考えている方は是非、ご活用ください。
Pythonistaのゲーム開発についてゲーム手順をまとめました。Pythonistaでのゲーム開発を例にゲーム開発の基礎を学べます。
この記事が気に入ったらサポートをしてみませんか?